
Step-by-Step Guide to Wireless Access Point Installation for Optimal Connectivity
- desertcomputer
- Feb 9
- 3 min read
Wireless access points (WAPs) are essential for expanding and improving Wi-Fi coverage in homes, offices, and public spaces. Installing a WAP correctly ensures strong, reliable wireless signals that support multiple devices without interruptions. This guide walks you through the key steps to install a wireless access point effectively, helping you avoid common pitfalls and achieve the best connectivity.

Understanding Wireless Access Points and Their Role
A wireless access point acts as a bridge between wired networks and wireless devices. Unlike a router, which manages network traffic and assigns IP addresses, a WAP extends the wireless signal, allowing devices to connect over Wi-Fi in areas where the router’s signal is weak or unavailable.
Before installation, identify the areas with poor Wi-Fi coverage. These are the spots where a WAP will have the most impact. For example, in a two-story house, the router might be on the first floor, and the second floor could have weak signal strength. Installing a WAP on the second floor will improve connectivity for devices there.
Preparing for Installation
Choose the Right Access Point
Select a WAP that fits your needs. Consider:
Coverage area: Larger spaces require WAPs with higher range.
Speed and standards: Look for devices supporting at least Wi-Fi 5 (802.11ac) or Wi-Fi 6 (802.11ax) for faster speeds.
Power options: Some WAPs use Power over Ethernet (PoE), which simplifies installation by delivering power through the Ethernet cable.
Plan the Location
The placement of the WAP affects performance. Follow these tips:
Place the WAP in a central location relative to the area needing coverage.
Avoid obstacles like thick walls, metal objects, or microwaves that interfere with signals.
Mount the WAP high on walls or ceilings for better signal distribution.
Ensure proximity to an Ethernet port or switch for wired connection.
Gather Necessary Tools and Materials
You will need:
Wireless access point device
Ethernet cable (Cat5e or higher recommended)
Drill and mounting hardware (if wall or ceiling mounting)
Screwdriver
Ladder (if mounting high)
Network switch or router with available Ethernet ports
Step-by-Step Installation Process
1. Connect the WAP to Your Network
Start by connecting the WAP to your router or network switch using an Ethernet cable. If your WAP supports PoE and you have a PoE switch or injector, connect the Ethernet cable to the PoE source to power the device.
2. Power On the Access Point
Plug in the power adapter if your WAP does not use PoE. Wait for the device to boot up. Indicator lights usually show the status: solid green or blue means ready, blinking lights may indicate setup mode.
3. Access the WAP’s Configuration Interface
Use a computer or mobile device connected to the same network. Enter the WAP’s default IP address into a web browser. This address is often listed in the device manual or on a label. Log in with the default username and password.
4. Configure Wireless Settings
Set up your wireless network parameters:
SSID (network name): Choose a clear, unique name.
Security type: Use WPA2 or WPA3 for strong encryption.
Password: Create a strong password to prevent unauthorized access.
Channel selection: Set to auto or manually select a channel with the least interference.
5. Adjust Advanced Settings (Optional)
Depending on your needs, you can configure:
Band steering to balance devices between 2.4 GHz and 5 GHz bands.
Guest network for visitors.
Access controls to restrict certain devices.
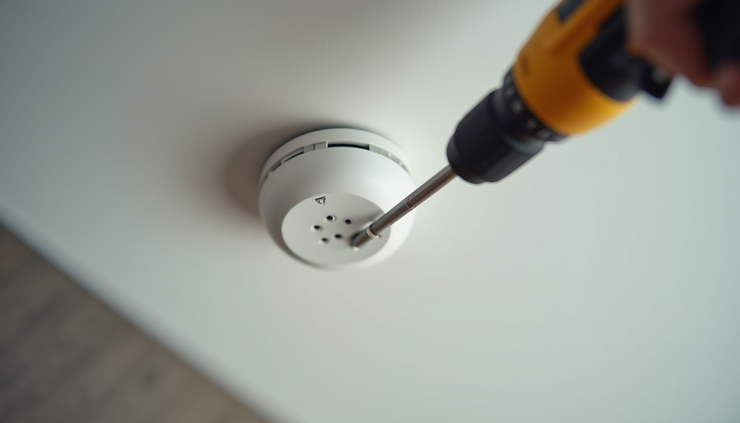
6. Mount the Access Point
Once configured, mount the WAP in the planned location. Use the mounting hardware and drill holes if necessary. Secure the device firmly and connect the Ethernet cable.
7. Test the Connection
After installation, test the Wi-Fi signal strength and speed in the coverage area. Use tools like Wi-Fi analyzer apps to check signal quality and channel interference. Walk around the space with a device to ensure consistent connectivity.
Troubleshooting Common Issues
Weak signal or dead zones: Reposition the WAP or add additional access points.
No internet connection: Check Ethernet cable connections and router settings.
Interference: Change wireless channels or move the WAP away from electronic devices.
Slow speeds: Verify device compatibility and update firmware.
Maintaining Your Wireless Access Point
Keep your WAP running smoothly by:
Regularly updating firmware for security and performance improvements.
Monitoring connected devices and network traffic.
Cleaning dust from the device vents to prevent overheating.


Comments